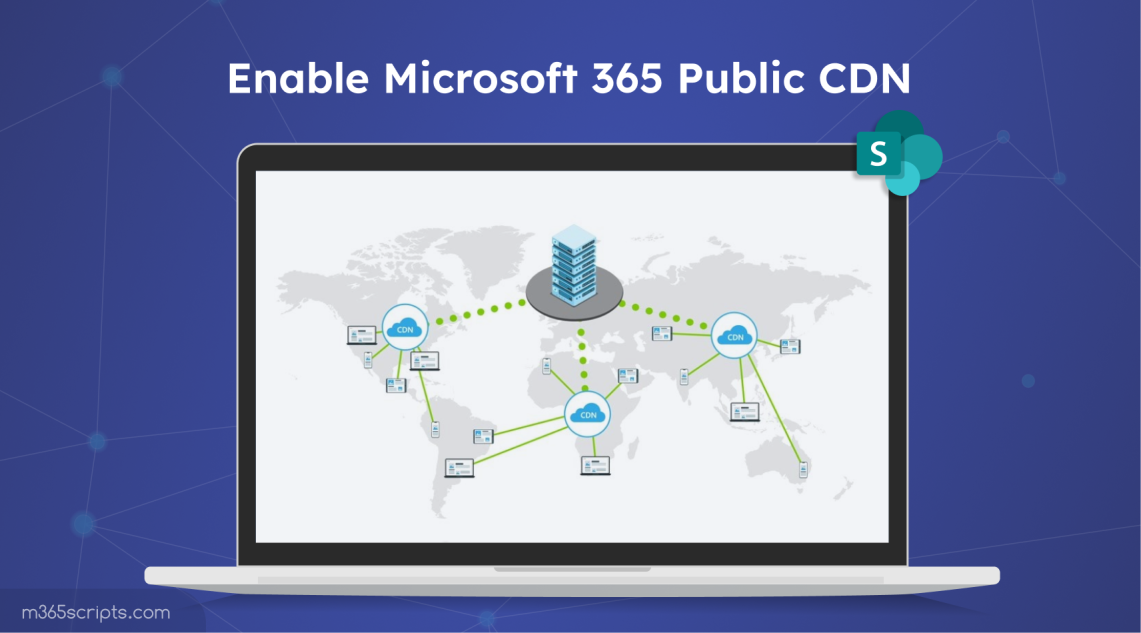
Enable Microsoft 365 Public CDN
Enable Microsoft 365 Public CDN to improve SharePoint Online page load performance by distributing static content across global edge servers. Configure public and private origins for assets, reducing latency and speeding up downloads for users regardless of their geographic location.
Are you frustrated by slow-loading SharePoint pages that impact productivity and user satisfaction? Do you want to reduce latency & speed up downloads for a smoother experience for SharePoint users? Then, Microsoft 365 Public Content Delivery Network (CDN) can be your solution. This powerful tool can significantly improve the performance and availability of your SharePoint site by distributing content across multiple servers worldwide. In this blog post, let’s learn how to enable and configure the Microsoft 365 CDN on your tenant, ensuring your SharePoint pages are as fast as they can be!
Before enabling CDN in Microsoft 365, let’s start with the basics!
A Content Delivery Network (CDN) is a system of servers located in different parts of the world. These servers store and deliver parts of a website or service’s content to users from a location closest to them. The idea is to make things load faster for the user, no matter where they are.
A Content Delivery Network (CDN) helps deliver online content quickly and efficiently using three types of servers:
1. Origin Servers
- Origin servers are where the original version of the content is stored and managed.
- When content needs updates, it’s modified here.
- These servers can be owned by the content provider or hosted on cloud services like Amazon’s AWS S3 or Google Cloud Storage.
2. Edge Servers
- Edge servers are distributed across multiple geographic locations known as “points of presence” (PoPs).
- They cache copies of the content from the origin servers.
- When a user requests content, they are redirected to the closest edge server with the cached content.
- If the cached content is outdated, the edge server updates it from the origin server.
- CDNs manage these edge servers.
3. DNS Servers
- DNS (Domain Name System) servers keep track of and provide the IP addresses of origin and edge servers.
- When a user sends a request for content, DNS servers direct them to the nearest edge server for faster delivery.
When you visit a website, it loads a lot of stuff, like images, videos, scripts, etc. If these items come from a server far away, it takes longer to load, leading to slow website performance. A CDN solves this problem by copying the content onto servers closer to the user, reducing the time it takes for that content to load. This results in:
- Faster loading times for web pages.
- Less strain on the main server, as it doesn’t have to handle every single request.
- Better user experience, especially for users far from the original content source.
The Microsoft 365 Content Delivery Network (CDN) is a built-in SharePoint Online feature designed to enhance the site’s performance. By caching static content like images, videos, and documents on servers strategically located around the globe, the CDN ensures that content is delivered efficiently based on users’ geographical location. Also, the Microsoft 365 CDN uses the HTTP/2 protocol for improved compression and HTTP pipelining. Best of all, the Microsoft 365 CDN comes included with your SharePoint Online subscription, making it an invaluable tool for optimizing the site’s speed!
To enable the Microsoft 365 CDN in SharePoint Online, connect to the SharePoint Online PowerShell. All CDN settings are managed using the ‘*-SPOTenantCdn’ cmdlets.
Then, enable the Office 365 public CDN by executing the below cmdlet.
|
1 |
Set-SPOTenantCdnEnabled -CdnType Public |
Once you run this code, it will ask for your confirmation.
Note: It may take up to 15 minutes for the configuration to complete. To see the current status of your Microsoft 365 CDN setting, run the following cmdlets.
|
1 2 3 4 5 |
Get-SPOTenantCdnEnabled -CdnType Public Get-SPOTenantCdnOrigins -CdnType Public Get-SPOTenantCdnPolicies -CdnType Public |
When the public CDN is enabled in your tenant, it will support a range of file types, including CSS, EOT, GIF, ICO, JPEG, JPG, JS, MAP, PNG, SVG, TTF, and WOFF.
You can enhance the tenant’s CDN capabilities by adding additional document libraries, along with those provided by default.
To set up a custom CDN library in SharePoint,
- Access your site collection where you want the CDN library.
- Create a new document library named ‘CDN’.
- For this setup, we’ll use */cdn as the origin path. This configuration allows any folder named “cdn” within your site collections to be used as a CDN origin.
To add the CDN origin, run the following command.
|
1 |
Add-SPOTenantCdnOrigin -CdnType Public -OriginUrl */cdn |
To verify if the custom origin was added, run the below cmdlet.
|
1 |
Get-SPOTenantCdnOrigins -CdnType Public |
You will receive an output like the one below. Focus on identifying the specific origin you added: */CDN.

By enabling the Microsoft 365 public CDN, you can significantly improve the performance of your SharePoint Online pages. For the best performance and security, it’s crucial to implement SharePoint Online security best practices and regularly monitor the settings of your CDN.