How to Fix the “Room Finder in Outlook Doesn’t Display Any Rooms” Issue
Troubleshoot Room Finder not displaying meeting rooms in Outlook by checking room mailbox configuration, room list membership, and sync delays. Verify room mailboxes are properly created, added to room lists, and allow sufficient time for Microsoft 365 synchronization after creating new resources.
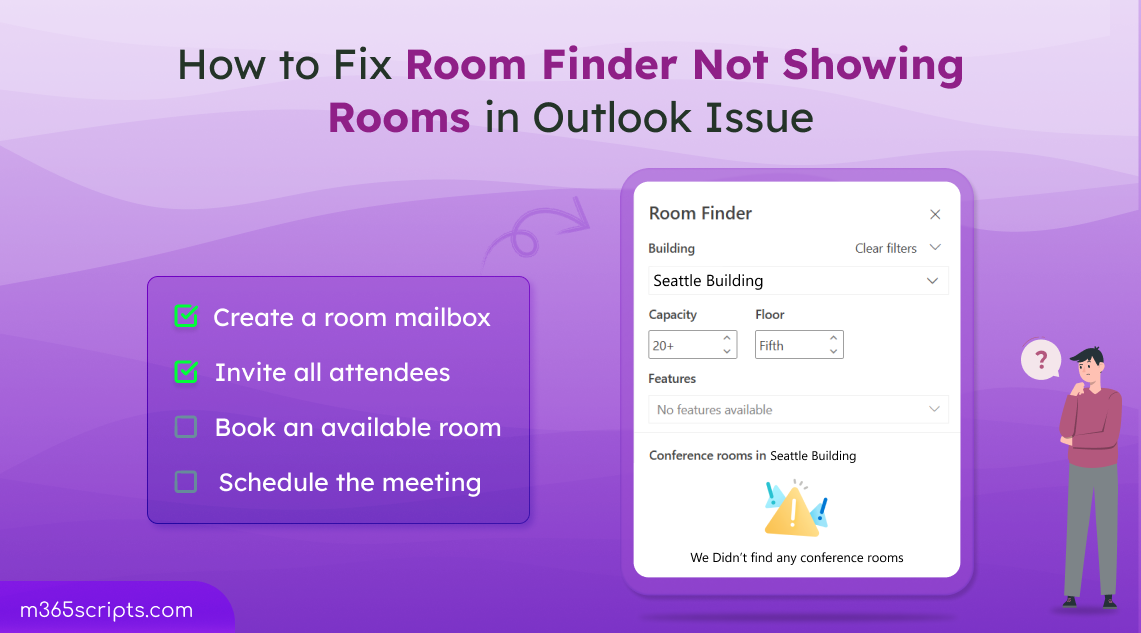
Scheduling a meeting in many organizations is rarely quick—it often involves major steps like checking meeting room availability in Outlook and coordinating across teams. Finding and booking the right meeting room often feels like solving a puzzle, frustrating users unnecessarily. To address this, Microsoft introduced Room Finder in Outlook, a feature designed to make scheduling meetings as easy as picking a time slot. With just a few clicks, users can view available rooms, check capacities, and book the space that fits their needs.
Sounds perfect, right? Well, not always😑. What was meant to simplify scheduling has, over time, become a roadblock for many users. Sometimes, while scheduling meetings, users face the issue “Room Finder not displaying rooms in Outlook”, leaving them scratching their heads and scrambling for workarounds.
If the users in your organization are facing this problem, don’t worry—you’re not alone, and we’ve got your back. In this blog, we’ll walk you through why rooms may not show up in Room Finder and exactly how to fix it step by step.
When scheduling a meeting using Room Finder in Microsoft Outlook, you may notice that no rooms are displayed, or that only some rooms appear while others do not. One of the most common causes of this issue is that a newly created room mailbox may not appear in Room Finder right away. This is because it can take up to 24 hours for new entries to fully sync across Microsoft 365.
So, it’s always recommended to wait at least 24 hours after creating a new room mailbox or room list before expecting it to appear in Room Finder. If the room still doesn’t show up after that period, then further investigation is needed.
Beyond sync delays, several other factors can prevent a room from appearing in Room Finder. Let’s walk through each potential cause and the corresponding resolution steps below.
If a room mailbox isn’t appearing in Room Finder, one of the most overlooked causes is that it’s not part of any room list.
Room lists are a special kind of distribution group in Exchange Online, created specifically to organize room mailboxes. Think of them as logical groupings—usually based on capacity and location, such as building, city, or floor. This helps Room Finder display relevant room options based on where you’re scheduling the meeting.
To resolve this issue, you need to create a room list and add room mailboxes to it.
1. Connect to the Exchange Online PowerShell and run the following cmdlet to create a room list in Exchange Online.
|
1 |
New-DistributionGroup -Name "Seattle Building” -RoomList |
The above cmdlet creates a new room list named “Seattle Building” in Exchange Online.
2. If you already have a distribution group that you’d like to use as a room list, you can convert it using the below cmdlet.
|
1 |
Set-DistributionGroup -Identity "Conference Room45" -RoomList |
This command converts the “Conference Room45” distribution group into a room list.
Important: Before converting, review the distribution group membership to ensure it contains only room mailboxes. Otherwise, the conversion will fail with an error.
3. Then execute the cmdlet below to add a room mailbox to a room list.
|
1 |
Add-DistributionGroupMember -Identity “Seattle Building” -Member “Conference Room45” |
The above command adds the room mailbox “Conference Room45″ to the room list “Seattle Building”.
If the room mailbox still doesn’t appear in Room Finder after being added to a room list, there may be another issue at play. One of the most common causes is that the room mailbox or its room list is hidden from the Global Address List (GAL).
The Global Address List serves as the central directory for all mail-enabled objects in Microsoft 365, including room mailboxes. Room Finder in Outlook depends on the GAL to detect and display available rooms. If a room or room list is hidden from the GAL, Room Finder won’t be able to find it.
This issue often arises when rooms or room lists are created with the HiddenFromAddressListsEnabled setting turned on by default. It can also occur if they were manually hidden to restrict meeting room bookings by users.
How to Check if the Room List is Hidden in Microsoft 365
To check whether a room list is hidden from the GAL, run the following PowerShell command.
|
1 |
Get-Mailbox <RoomName> | ft DisplayName, HiddenFromAddressListsEnabled |
Replace <RoomName> with the room or room list mailbox that doesn’t appear in the Room Finder.

If the HiddenFromAddressListsEnabled parameter is set to True, the room or room list is hidden from the address book. To make it visible in Room Finder, you’ll need to ensure it’s visibility in your organization.
Run the following cmdlet to make the room list visible in the GAL.
|
1 |
Set-DistributionGroup <RoomName> -HiddenFromAddressListsEnabled $false |
Replace <RoomName> with the name of the room mailbox that was hidden in the GAL.
Allow up to 24 hours for the change to propagate across Microsoft 365 services. Once the update is complete, the rooms should appear in Room Finder.
We hope this blog has helped you resolve the issue of Room Finder not displaying rooms in Outlook effectively. If the problem continues despite applying these solutions, we recommend reaching out to Microsoft Support to check for any deeper or system-specific issues.