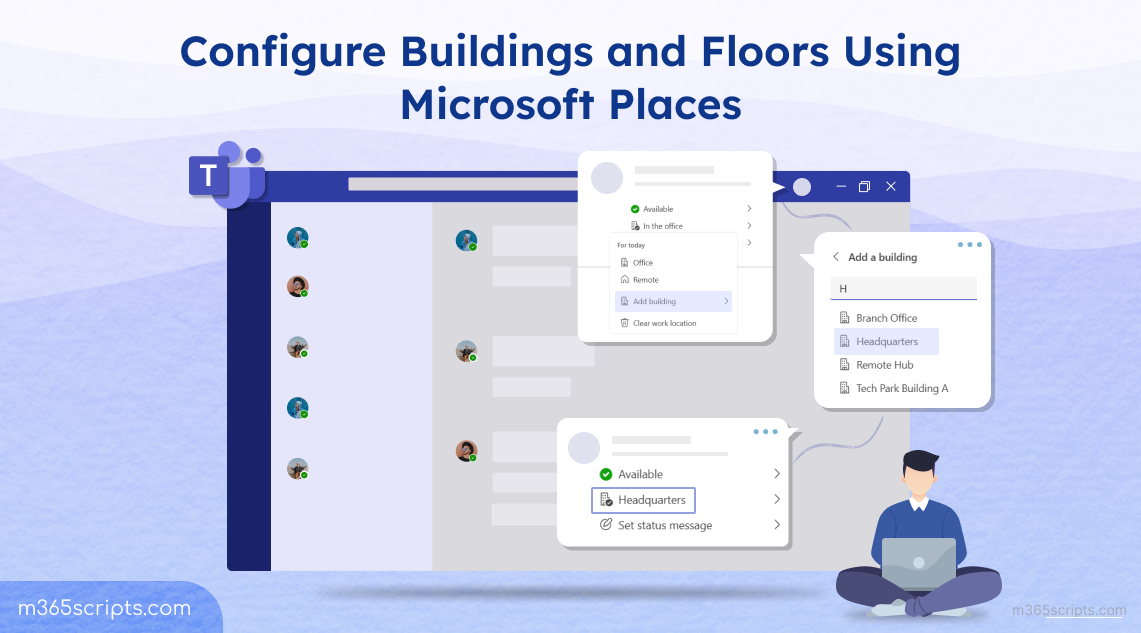
Configure Buildings and Floors using Microsoft Places
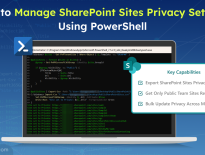
Configure Microsoft Places to digitally map office buildings, floors, sections, and workspaces for hybrid work management. Use Initialize-Places cmdlet or manual setup to create location hierarchies enabling room booking, desk reservations, and workplace presence tracking across Teams and Outlook.
Ever had employees walk into the office only to ask, “Where’s my desk?” or “Is this meeting room booked?” You’re not alone.
With hybrid work becoming the norm, managing physical office spaces without a proper system can lead to daily confusion. That’s exactly what Microsoft Places is designed to solve.
Microsoft Places helps you bring structure to chaos by digitally mapping out buildings, floors, sections, and workspaces. Once set up, employees can easily book rooms, locate desks, and see where their teammates are right from Teams or Outlook.
But here’s the catch: none of this works until you configure your buildings and floors correctly.
In this blog, we’ll show you how to configure your workplace layout, from buildings and floors to sections and rooms, so your teams can navigate and book spaces without confusion.
Microsoft Places is a hybrid workplace platform that uses Microsoft 365 intelligence to optimize in-person collaboration, workspace booking, and scheduling across teams. To configure buildings and floors in Microsoft Places, you need to establish a clear hierarchy of physical locations, starting from buildings and floors down to sections and workspaces. This structure forms the foundation for space management features across Microsoft Places, including room booking, desk reservations, and workplace presence tracking.
This method auto-generates a building and floor hierarchy by analyzing existing rooms and workspace metadata. It’s ideal for organizations that already have rooms and room lists set up in Microsoft 365.
If you prefer to define your hierarchy from scratch or want more granular control, you can create buildings, floors, and sections manually and map them to rooms and workspaces.
If your organization already has meeting rooms, workspaces, and room lists configured in Microsoft 365, you can quickly generate your building and floor structure using the Initialize-Places cmdlet. This automated approach helps streamline the process by using existing metadata to infer the location hierarchy.
Before you begin, ensure the following:
- PowerShell 7.4.0 or later is installed on your machine.
- You have Exchange Administrator rights.
- The Microsoft Places, Microsoft Teams and Exchange Online Management PowerShell modules are installed.
To install the Microsoft Places PowerShell module (if not already done), run:
|
1 |
Install-Module -Name MicrosoftPlaces -Force |
To run Microsoft Places cmdlets, your account must have the following Exchange Online roles:
- TenantPlacesManagement – to manage Places
- MailRecipient – to manage users and mailboxes
The Exchange Administrator role typically includes both permissions.
If not already assigned, you can manually assign the required role using this command:
|
1 |
New-ManagementRoleAssignment -Role TenantPlacesManagement –User [email protected] |
Tip: Alternatively, create a custom role group (e.g., “Microsoft Places Management”) and add the required roles to it for better delegation.
1. Launch PowerShell 7 as an administrator and connect to the Microsoft Places module:
|
1 |
Connect-MicrosoftPlaces |
2. Run the following cmdlet to analyze your existing rooms and workspaces:
|
1 |
Initialize-Places |
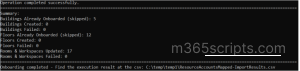
You’ll be prompted to choose an option. Select Option 1 to export a CSV file containing inferred building, floor, and section mappings, and provide a local path to save the file.
![]()
3. Open the generated CSV file and the suggested building, floor, and section names. You can:
- Rename building and floor values according to your organization.
- Remove metadata related attributes as they are not required for mapping except for:
- InferredBuildingName
- InferredFloorName
- InferredSectionName
- PrimarySmtpAddress
Save the file after making your changes.
4. Run Initialize-Places again and choose Option 2 to import the updated CSV. This will create your buildings, floors, and sections based on the mapping provided.
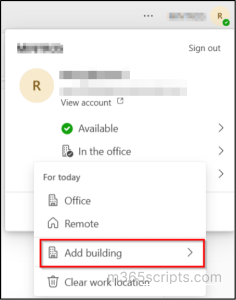
Once the hierarchy is created, open Microsoft Teams or New Outlook. Try setting your location or presence to one of the new buildings. The configured structures should now be visible across Microsoft Places experiences.
If the automated approach doesn’t suit your requirements, proceed with manual configuration using PowerShell to define buildings, floors, and relationships explicitly. This method gives you the flexibility to define a structured hierarchy and link rooms and workspaces appropriately.
To manually configure building hierarchy in Microsoft Places, follow the steps below.
1. Connect to the required modules.
|
1 2 3 |
Connect-ExchangeOnline Import-Module MicrosoftPlaces |
2. Create a new building.
|
1 |
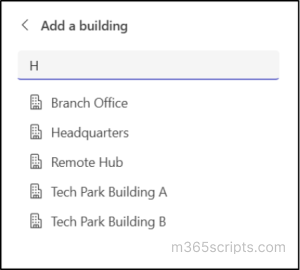
New-Place -Type Building -Name "Headquarters" |
To create floors, use the building’s PlaceId as the parent. You can get the PlaceId from the creation output or by running the below.
|
1 |
Get-PlaceV3 -Type Building | Select Identity, PlaceId |
3. Now, create a new floor.
|
1 |
New-Place -Type Floor -Name "Floor 1" -ParentId <PlaceId_of_Building> |
4. For setting up meeting rooms and workspaces under the floor, set their Parent as the floor.
|
1 |
Set-PlaceV3 -Identity <smtpAddressofRoom> -ParentId <PlaceId_of_Floor> |
Note: To set metadata for your buildings or floors with extra details like building codes or location data, use Set-PlaceV3.
We have a Building named “Contoso HQ”, with Floor 5, and a Room named “ConferenceRoom01” (conference room). We want to link them together.
|
1 2 3 4 5 6 7 |
#Link the Room to Floor 5 Set-PlaceV3 -Identity '[email protected]' -ParentId <PlaceId of the Floor 5> #Link Floor 5 to Contoso HQ Building Set-PlaceV3 -Identity <PlaceId of the Floor 5> -ParentId <PlaceId of the Contoso HQ Building> |
To update Floor’s metadata run the below:
|
1 2 3 |
Set-PlaceV3 -Identity <PlaceId of the Floor 5> ` -DisplayName "5th Floor - East Wing" ` -FloorNumber 5 |
Creating a well-defined location hierarchy in Microsoft Places isn’t just about aesthetics. It plays a key role in improving workspace reservations, streamlining room management, and enabling a seamless hybrid work experience. With a clear structure in place, your organization can optimize space usage and better support flexible work environments.
We hope this blog helps you confidently deploy buildings and floors in Microsoft Places. If you have any questions or feedback, feel free to share them in the comments. We’re always here to help!