Customize Meeting Invitations in Microsoft Teams
Customize Microsoft Teams meeting email invitations with organization logos, legal disclaimers, help URLs, and custom text. Configure branding through Teams admin center meeting settings to establish organizational identity and protect users from phishing attacks.
As we know, Microsoft 365 company branding is an interesting feature that enables organizations to customize their login page. Apart from this, it also prevents phishing attacks as we include our organization logo, background image, username hint, text, color, and more. Since it is customized and varies for each organization, users can’t easily be exploited by intruders. Likewise, you can also customize the Teams meeting email invitations. Admins can customize the company logo, legal disclaimer, help URLs, and invite text to users.
Email invites will be sent for every team meeting created. By customizing logo, URLs, and invite text, you can meet your organization needs effectively. As it is unique and contains your organization’s identity, users can stay
free from Teams phishing attacks.
While talking about customization, you can also prevent sensitive information sharing to unwanted members by applying sensitivity labels to meeting invites.
Teams meeting invitations can be customized through the Microsoft Teams admin center. To do this,
- Navigate to the Teams admin center.
- In the left menu, go to Meetings –> Meeting settings.
- Scroll down and locate ‘Email invitation’ to customize the meeting invitations.
Tip: You can utilize the ‘Auto accept meeting invitations in Outlook’ to smartly schedule the meetings.
Let’s dive into what can be customized in Teams meeting invitations.
- The organization logo can be included in the meeting email invitation to help users identify the other organization meeting invites easily.
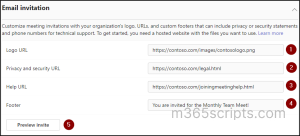
- To add the logo, enter the URL where your logo is stored in the ‘Logo URL’ field under ‘Email invitation’.
How to Create Logo for Teams Meeting Invitation?
Let’s see some tips for logo creation in Teams meeting invitation to add a perfect logo for your organization.
- Creating an image for the logo should not be more than 188 pixels wide by 30 pixels tall.
- You need to save the image in JPG or PNG format.
- You must store the image in a location where everyone can access it, like a public website.
- A legal URL points to the organization’s legal website that contains information about Teams meetings, which users need to know for their legal concerns.
- You can enter the URL of the respective webpage in the ‘Privacy and security URL’ field under ‘Email invitation’.
- A help URL denotes the organization’s support website that troubleshoots customer issues.
- You can enter the respective webpage URL in the ‘Help URL’ field under the ‘Email invitation’.
In the ‘Footer’ field under ‘Email invitation’, you can enter the preferred text that you want to add as a footer in the meeting invitation.
Handy Tip:
Customizing meeting invites is helpful when scheduling meetings with Scheduling Poll in Outlook. It allows attendees to confirm the request is from an authorized sender before they vote on a suitable meeting time.
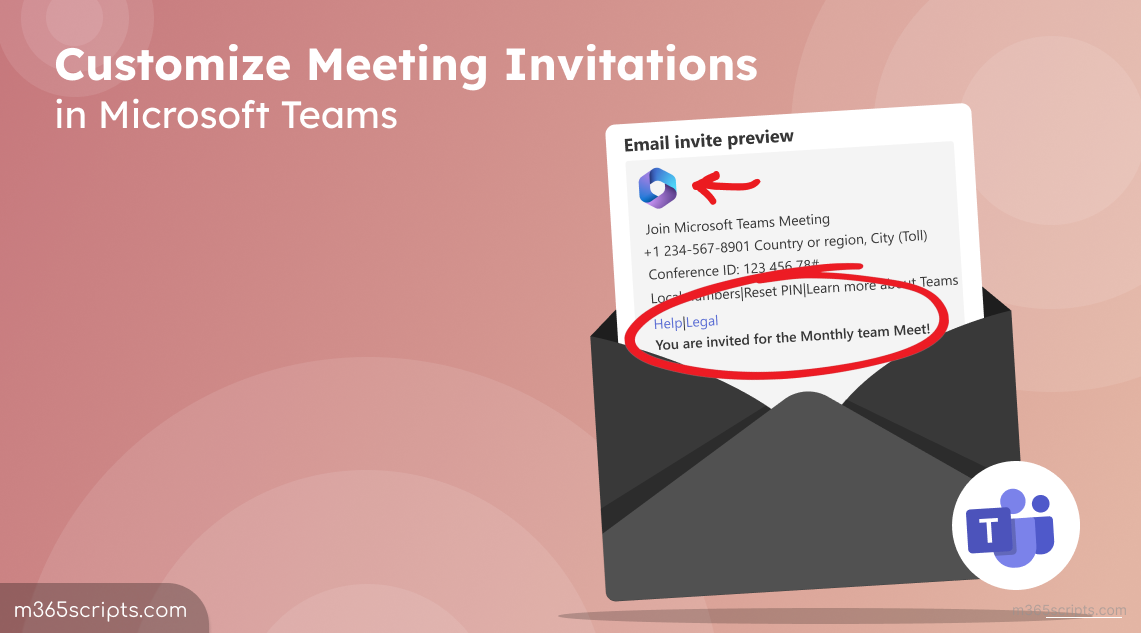
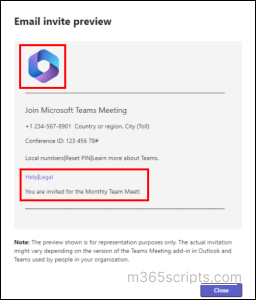
After customizing all the fields in the email invitation, select ‘Preview invite’ to visualize the preview of how your meeting invitation would be. Also, it will be helpful to verify the invite and customize it further if required.
Once the customizations are done, select ‘Save’.
Note: You must wait an hour and schedule a Teams meeting to see your customized meeting invitation.
That’s all! You will now have a customized meeting invitation curated for your organization. I hope this blog helps to guide you on how to customize Teams meeting invitations. Drop your queries in the comment section.