Simplify Transport Rule and DLP Policy Evaluation with Test-Message Cmdlet
Great news for Exchange administrators out there. The test-message cmdlet is back & better than ever!
Exchange Online Test-Message cmdlet, which was temporarily disabled for further enhancements last year, is now generally available. This powerful cmdlet can now be used by tenant admins to independently investigate any issues related to the execution of Exchange Transport Rules (ETR) and Unified Data Loss Prevention (DLP) rules. With this newly improvised cmdlet, admins can also troubleshoot problems related to DLP policies and mail flow rules without the need for Microsoft support, saving them time and effort. Let’s look at it a bit more closely now!
The ultimate aim of the Exchange Test-Message cmdlet is to assist in understanding why a particular rule may not be functioning as expected. This cmdlet allows users to kick off an ETR/DLP evaluation of a specific email and simulate its real behavior. By doing so, it can reveal what actions are taken by those rules.
However, before using the cmdlet, there are some information and tips to keep in mind.
- Test-Message introduces an email into the system, and then actions such as moderation or blocking can be taken, and notifications are sent based on the configured rules.
- If you need to trace the email, you can find it in the Exchange message trace. Additionally, any DLP detected messages will be visible in the audit/activity explorer.
- Currently, General Incident Reports (GIR) and end-user notifications are not being sent by DLP.
Another highlight is that this cmdlet also works with external senders or recipients, making it easier to test and refine rules without requiring external parties to send additional messages. There’s no longer a need to ask external partners to resend messages for fine-tuning or troubleshooting ETR/DLP rules!
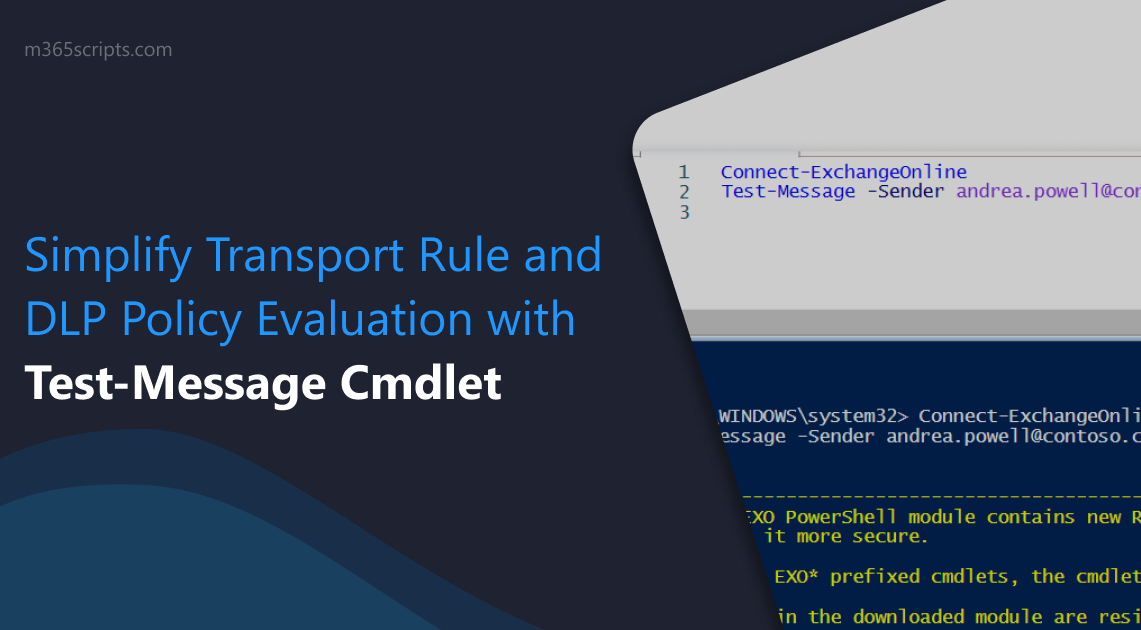
For better understanding, let’s observe the Test-Message cmdlet in practice. To test the Test-Message cmdlet, first connect to Exchange Online PowerShell, and run the following.
Example 1
Test-Message -Sender [email protected] -Recipients [email protected] -SendReportTo [email protected] -TransportRules -UnifiedDlpRules

You can specify the sender’s email address, the recipient’s email address, and an administrator’s email address to receive a report on the status of the message delivery test.
The switch parameter –TransportRules specifies that you want to test the mail flow rules in Exchange Online. Meanwhileanother switch parameter –UnifiedDLPRules specifies that you want to test your DLP policies.
Example 2
You can also run the Test-Message cmdlet with a message file that was created in Outlook. To use the Test-Message cmdlet with a message file, you first need to encode the file and store it in a variable.
$data = [System.IO.File]::ReadAllBytes('C:\Data\test.eml')

Test-Message -MessageFileData $data [email protected]@[email protected] –UnifiedDlpRules
Here the parameter –MessageFileData specifies the location and encoding type of the message file.
If you run this cmdlet without having a message file in specific location, you will encounter these errors.
- Exception calling “ReadAllBytes” with “1” argument(s): “Could not find a part of the path ‘C:\Data\test.eml’.”
- PrintResultAndCheckForNextPage : MessageFileData was specified, but a null value was provided. The parameter should either be removed or a non-null value should be provided.
Now, let’s see how the Test-Message cmdlet Assists Exchange Transport Rule / Data Loss Prevention Rule Evaluation.
The Test-Message outputs will be sent to the address provided in the SendReportTo parameter. The messages will contain information regarding each type of rule that was processed during the test.
This is how the Exchange Transport Rule Tracing Report looks like.
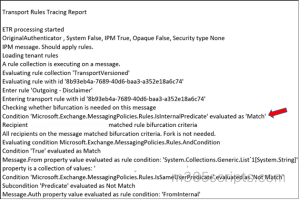
The marked portion in the transport rule tracing report explains that the evaluation condition was using a specific method ‘Microsoft.Exchange.MessagingPolicies.Rules.IsInternalPredicate’, which was evaluated as a ‘Match’, meaning it met the evaluation criteria.
And the Exchange DLP Rules Tracing Report will get generated like this.
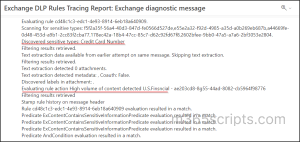
Here the highlighted portion in the DLP rules tracing report exposes the detected credit card number and its rule action.So, this is how an admin can troubleshoot Exchange transport rules and DLP policies affecting the organization.
To download the Test-Message Output, follow the below mentioned steps.
- Open a new email message in your email client.
- Locate the two reports that you want to download.
- Drag and drop the two reports into the body of the new email message.
- Click the dropdown menu for each attached report.
- Select the “Download” option from the dropdown menu.
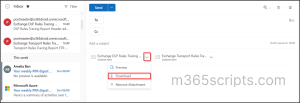
And that’s how you can download the transport rules tracing report and DLP rules tracing reports.
I hope this blog helped you in gaining some valuable information on the Test-Message cmdlet. Feel free to reach out for further assistance.


